First update in a while and I have been busy, that's with the car, work and other stuff going on at the moment! Sticking with the car then, lots to write up about.
Ill start with the dash board - something that was far easier to tackle with a removable scuttle, but I have to say I found the dash a real pain after the 5 hour point - you will see why later. OK so scuttle off and we are ready to go:
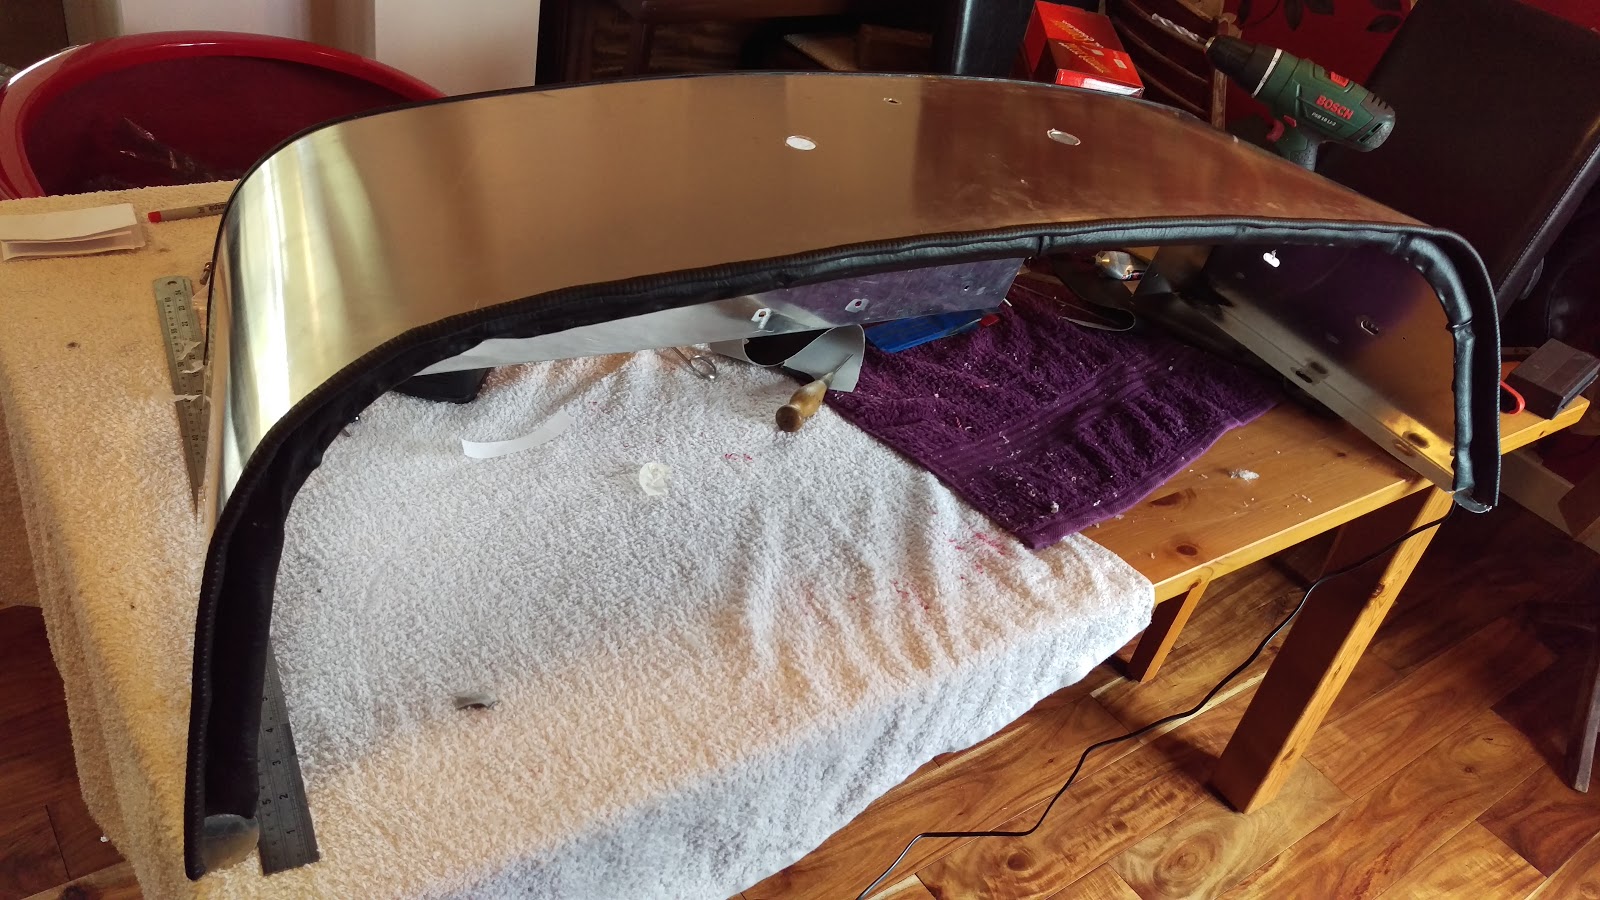
I wanted to cover up the (what would be) horrendous gap between the top edge of the GRP and the top of scuttle. As the GRP is made in the factory yet the scuttle is formed by hand, its no wonder there is a small gap visible between the two. As this is something I will be in the line of sight whilst driving I wanted to take my time and get it right. Speaking to a friend they suggested some leatherette, which is exactly what I went with. After purchasing a meter and buying a glue gun I set about fixing it, first some padding attached to stop any rattles:
After lots of messing about here was the intermediate stage:
The mistake I made here was rivnutting before I attached the material. I thought that I could simply open up the leatherette, poke the bolts through and away we go. That's fine in theory but in practise nearly every single one threaded. I think a mix of my obsessive measuring and parts of the material getting into the thread caused the problem. I don't think I could get the correct angle on the thread, because of very little wiggle room. I ended up having to drill each rivet out and went with lock nuts on the rear - it seems good enough to me and I can remove the dash still. I used some dome washers and countersunk bolts, looks good:
Next was onto the cut out for the Cowling, the steering column is on but only hand tight - I will torque it up properly later when I am 100% sure on how everything works. A little piece of my OCD set in here, but it paid off. First I made a template with clear instructions for if\when the frustration sets in:
The edge of the template lines up with the dashboard meaning I can remove it and line it up perfectly once the final template is made:
I made a master and WIP copy, the master stays as is should I make any mistakes on the WIP copy I can create another one:
All that was left now was to get the Cowling sorted...