You can see from the pics that its 99% there but there are a couple of areas around the nose that I want to pull a little tighter and hopefully a thin strip of foam will do just that.
Ratchet straps used to get the bonnet into position, a god send:
Used my rule to make sure I didn't have a lip anywhere, looking good:
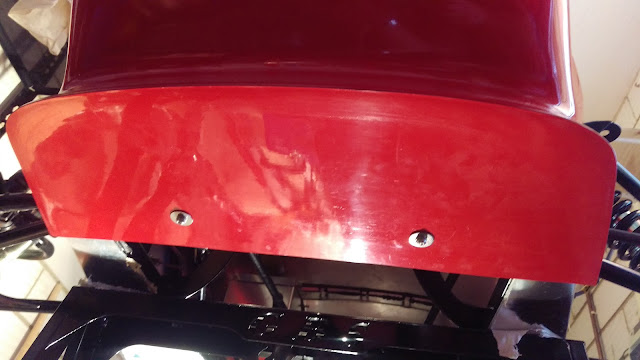
Next was working out where to put the bonnet locator pins. I know on the left hand side the manifold comes out, once the engine is in I can put another locator pin in but for now I have gone with four. Easiest way to do this was to mark up where I want the pin on the bonnet and chassis when bonnet is in place, then drill a small pilot hole central. Then, fit the bonnet again and mark through the pilot hole and open each side up - finally finishing with a file and testing with spare locator pin for flush fit.
The nose cone was only held in place with clips whilst I made sure the bonnet fit was correct with the scuttle, then tapped the nose into place at the other end and securely fixed nose after applying IVA trim:
I decided to screw on the headlights so I could put the spade ends and terminals on ready to run the wring loom, but after looking in detail I really need to do the front wiring loom after I have a few more bits in e.g E-N-G-I-N-E (I am looking forward to that part!).
Here she is:


No comments:
Post a Comment