Thursday, 31 January 2019

Heater Vents

Post slightly out of order but a quick update on the vents, they were simple to do just required lots of measuring.  Unfortunately - I cocked up one of the measurements, god knows how I managed it because I checked so many times!  I simply didn't concentrate and ended up putting a drill hole right in the center of the scuttle.

After a littler thinking I decided to put a nice button head bolt in - absolutely no function at all but it hides the mistake well.  Some pics:


I can see the mistake above - I've filled in right the way along to the center line and then drilled the corners, at least I spotted it in time before dremeling out the blank!  That would have been harder to fix.

The slots cut out and the offending hole:


The plastic "plenum" is then glued in place on the rear and left overnight to go off.


Finished result on the car:


Controls wired in and tested, looking nice and neat:


Windscreen Final Fit

Gulp - this was it, onto the real thing and time to start fitting the glass.   Actually it was relatively easy, following on from previous blogs the glass goes in fine with a little washing up liquid and persuasion.  I don't have many pics but I hit a couple of snags, I damaged the paint work with the ratchet straps but more frustratingly I didn't account for the extra length required for the rubber.

After an hour of measuring, filing and fettling I managed to get some offcuts in place ready for filling:


I also decided to grind down the screwheads each side; even though I countersunk each it would look naff not being painted and I wouldn't get a flat finish without at least taking a bit off.  Why not go the whole hog and grind them completely?  Yes, I will need to take the frame off should the glass crack - but I will likely have to do that anyway so preferred to go with looks rather than "what ifs":


Some decent body filler, sanding, patience and a few more coats of paint later I managed to get it fitted.  Again, not many pictures but here is the finished result:


And my heater vents ready to go :)

Tuesday, 29 January 2019

Windscreen Part 3

The windscreen marathon continues... :).  After achieving a really good finish on the windscreen mount I decided I wanted to spray the frame as well.  The finish on the aluminium isn't great and I quite like the idea of having an all black surround.

Not too many pictures for the actual spraying but it is important to apply a decent, suitable undercoat.  I have previously read about etch priming aluminium so thought it prudent to research what base coat should be applied.  I chose the correct and recommended hammerite undercoat for aluminium, it went on fine:


Its fairly cold outside at the moment and the recommended minimum temperature is 5 deg, borderline achievable.  To aid the process I kept the frame warm in the house whilst warming the garage up using a heater.  Its a fine balance between warmth and obviously fumes; even with a mask I didn't want to spent too much time in the garage whilst spraying even with the doors open.

I knew it was going to take a long time for each coat to dry so I knocked up a couple of stands out of some offcut tile edging I had laying around.  Worked well and it meant I could transfer the piece into the dining room whilst drying:


I am surprised I managed to get away with the smell in the house whilst it was drying, luckily my wife was out at work otherwise I don't think she would have been so forgiving :)

Windscreen Part 2

Following on from the previous post it was time to start drilling the holes for the windscreen frame.  The factory had advised me to use self tappers cut down to 4mm, I decided a slightly different route.  It is important to keep the length of the fixing short enough so it doesn't touch the glass; yet long enough to have enough material to secure the screen.

I eventually wend with dome head M5 bolts, mainly because I am going to use dome heads to attach the mounts to the scuttle and also I like the look of them.   I also don't like self tappers as I find they can be difficult to remove later.

First step was to drill out the pilot holes - easy enough to do:


I simply measured the width of the frame and drilled down the center four holes evenly spaced.  Next I had to fix the windscreen and tap the holes:


When both sides were completed I started the paint prep work and began several coats of hamerrite spray paint - it gives a good, long lasting finish:

After several days drying in the heat I fitted the trim - this is a requirement for the IVA.  I actually like the look of it as well:


Really chuffed with the finish I managed to achieve.  Next update will be the windscreen frame and fitment.

Windscreen Part 1

Time to fit the windscreen - what a marathon this became.  It seems I am so close to finishing yet every "little job" ends up taking forever to complete, no exception here.

The windscreen surround is roughly the right shape but isn't close enough to tighten into place:


I had driven down to the factory to pick up the glass and with such a delicate item I decided to make a template out of some scrap board in the garage.  After some bending I managed to get the correct shape:


The corners need to be fastened together with a No4 screw cut to length, there really isn't a big enough target to hit without risking screwing into the glass without adding some material.  I took an offcut of the frame and drilled it out:


Once both sides were ready I cut the bottom frame to length, here is the result - pretty good:


It turns out cutting to length wasn't the best idea, I hadn't taken into account the rubber strip required when fitting the glass meaning the ends were too short.  You will see later on how I fixed this.

The actual mounting brackets needed to be bent to shape - lots of heating in the oven and some creative vice work later I had a decent fit:


Note the center lines used to make sure everything is central and lined up.  Not many pictures for hours of effort and fiddling to get to this stage.

Monday, 28 January 2019

Heater Matrix

Although I haven't blogged in a while I've been tinkering away.  I started to research the requirements for the windscreen and it quickly became obvious most people don't put a windscreen on until after the IVA.  I am not like most normal people :)

The reason people decide against the windscreen is it has to have the correct markings on it and also the stock mounting pillars from GBS are not IVA compliant because of their sharp edges.  The final requirement for IVA is also demisters, which is where this post comes in.

There are a couple of places that supply electronic demisters but reading reviews and the forum they are supposed to be naff, plus if I fix a heater than at least I may be able to keep my hands warm(ish!).

After lots of research I managed to find a small heater from car builder solutions which will fit nicely under the scuttle.  This whole process would be impossible to do had I not made the scuttle removable, so first task - remove scuttle:


Back in the warmth of the dining room - its getting cold out!  Whilst the scuttle is off I need to run a inlet\outlet for the matrix, my plan is to tap into the two silicon hoses, one on the edge of the thermostat housing and the other next to to water pump.   I bought some self cutting "tees" which worked perfectly after a quick trip out into garage:


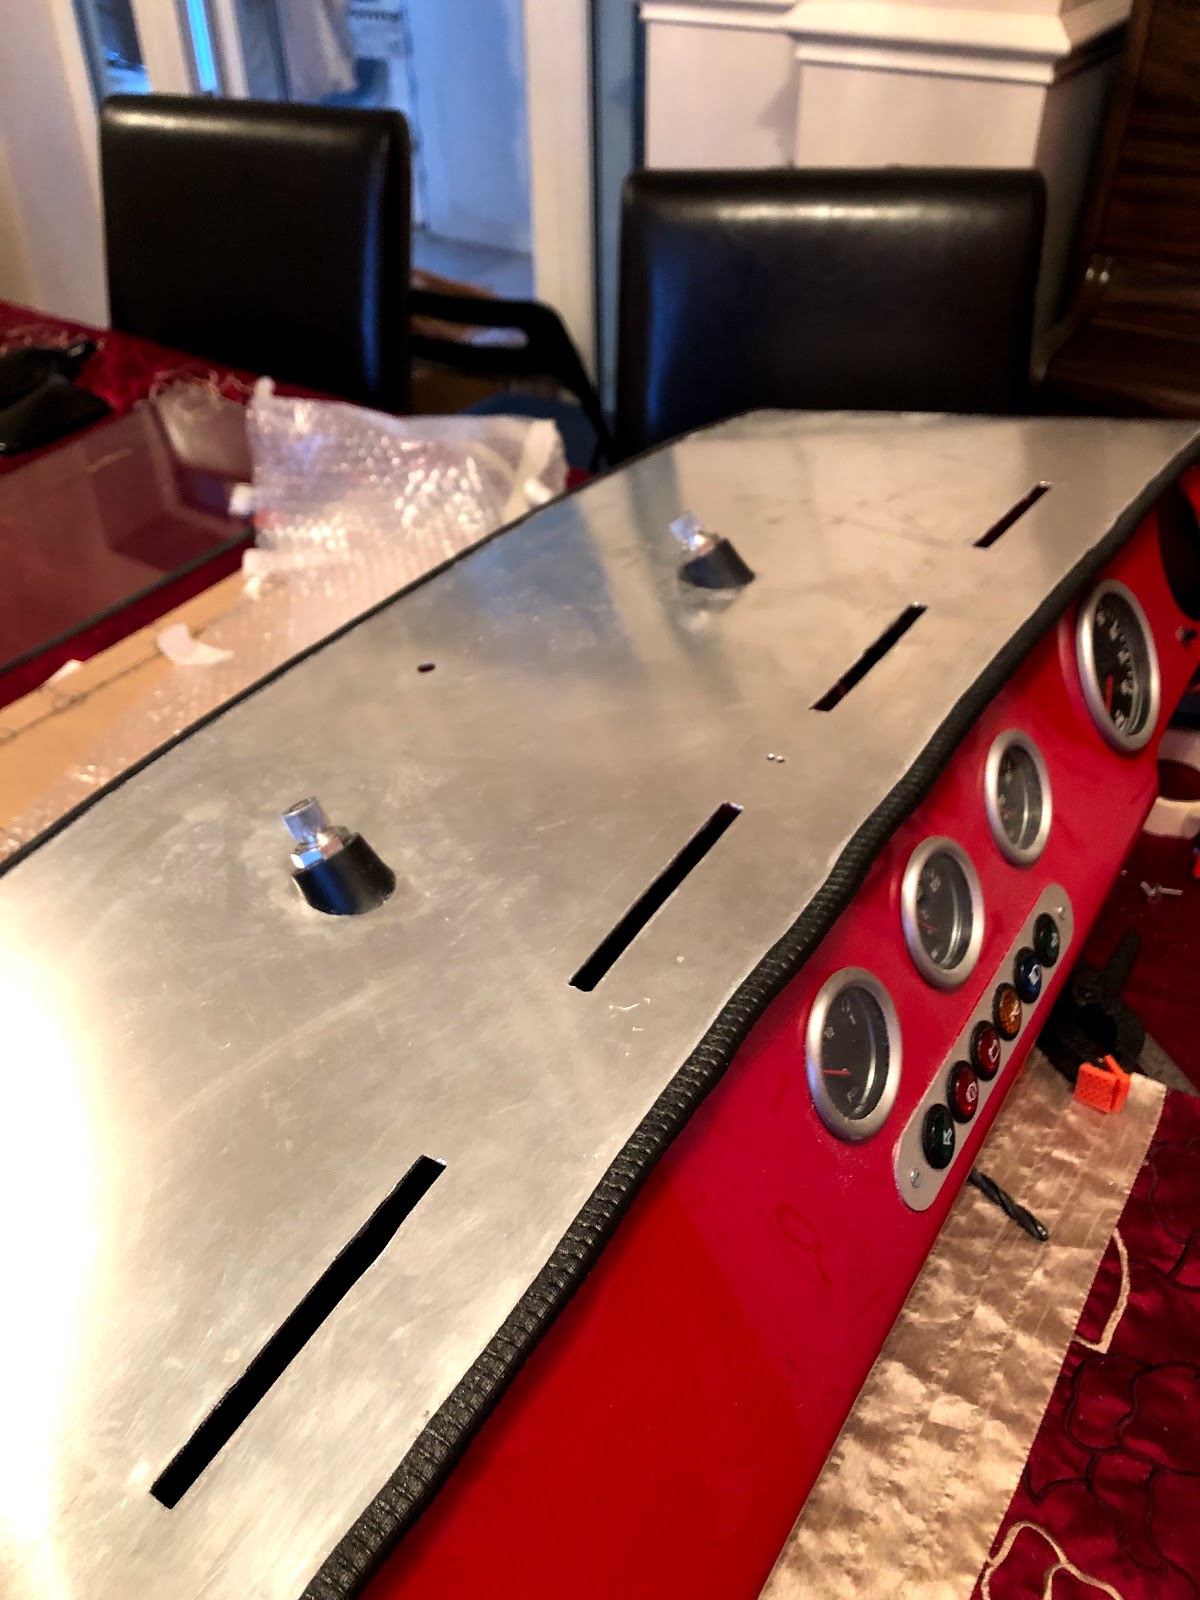
Back into the warmth again, time for a brew and some thinking.  I started planning where to put everything underneath.  There really isn't much room and I decided to move the ECU from its current location to the right hand side (moved again later on!).  Original location:


New location as you can see, the matrix now sits where the ECU once was:


I will explain how I fitted the grey tube in the middle which goes to the air vents in an upcoming blog.