Monday, 6 May 2019

Stuart the Mouse!

So I was busy working on the car and I noticed little bits of bird seed in strange places....odd, maybe I spilled some early on in the build?  Alas after taking the AUX panel apart to get to the fusebox - there was some more!  Definitely something going on and after spotting the leftovers of some wiring and trim I realized I had a friend....


Its my own fault really for not keeping the garage tidy, spilling bird food on the floor and leaving the garage door open.  Two little guys decided to move in and make the garage their home.

I felt a little bad removing their nest but it had to be done I couldn't risk any more damage to the car.  Everything out and the mouse hunt was on!  There was no sign of them but before I put everything back in I decided to check against some slate tiles we have leaning against the wall, bam!  Two little critters jumped out and scurried into the abyss of stuff all over the garage floor.


My wife and I spent a good 30 mins trying to catch the pair but they gave us the slip.  On the way out of the garage one of them stopped under the car, he thought better of it and scuttled onto the front lawn and he was away.

Trip to B&Q to invest in a strip for the bottom of the garage door and also cleaned everything out so there is nothing in there to tempt them back:


Hopefully that is the last of them and I can concentrate back on the remedial work.  In six days time I will be at the test center with my tick list complete.

Luckily in this instance no real damage had been done but it was a close call....

Thursday, 2 May 2019

IVA Attempt 1

Well, its a fail...but that was expected and I am really pleased :)  After much scrambling about and last minute windscreen wiper "fiddling" she was ready, albeit filthy:


With my wife driving the "support car" full of tools we set off late evening, weather held up and luckily we were not rained on.  The drive to the hotel was enjoyable but I was very nervous after all I had put this chunk of metal together that was moving 60mph down the road.

Put her to rest overnight in a cover just in case it rained:


Early start in the morning straight to the test center in rush hour traffic I had developed a fault.  I couldn't get the car into gear whilst warm and right outside the test center I had to turn it off, put it in gear and drive in - good first impression!

The car failed on a large number of items all of which were minor, some missing trim, my speedo wasnt working properly, cables needing tidying up slightly.  The major items I passed on, all of my windscreen, wipers and washers all were fine.  Emissions and noise test were fine (although it took an age to get a pass and we ended up spilling coolant out of the header tank everywhere).

Waiting on my final list and to book the retest but I am very, very pleased!  IVA Attempt 2 coming up....

Tuesday, 23 April 2019

IVA Booked - Almost Done

I haven't blogged in a while as I have been busy working on the car without the need for many pictures.

Unfortunately I had an oil leak from the sump, turns out I had used the wrong (stock) gasket and needed a specific one for my lowered sump.  In addition I snapped the clutch cable which in turn knocked the release bearing out of the fork arm.

It meant the engine and gearbox had to come out - bit the bullet and cracked on, albeit with a grumpy sulk and plenty of chuntering whilst I got the engine hoist out:


Both seats are now in and the IVA is booked for 2nd of May - lots and lots of tinkering written down.

Wipers and both seats fitted, pretty straight forward:


Thursday, 31 January 2019

Heater Vents

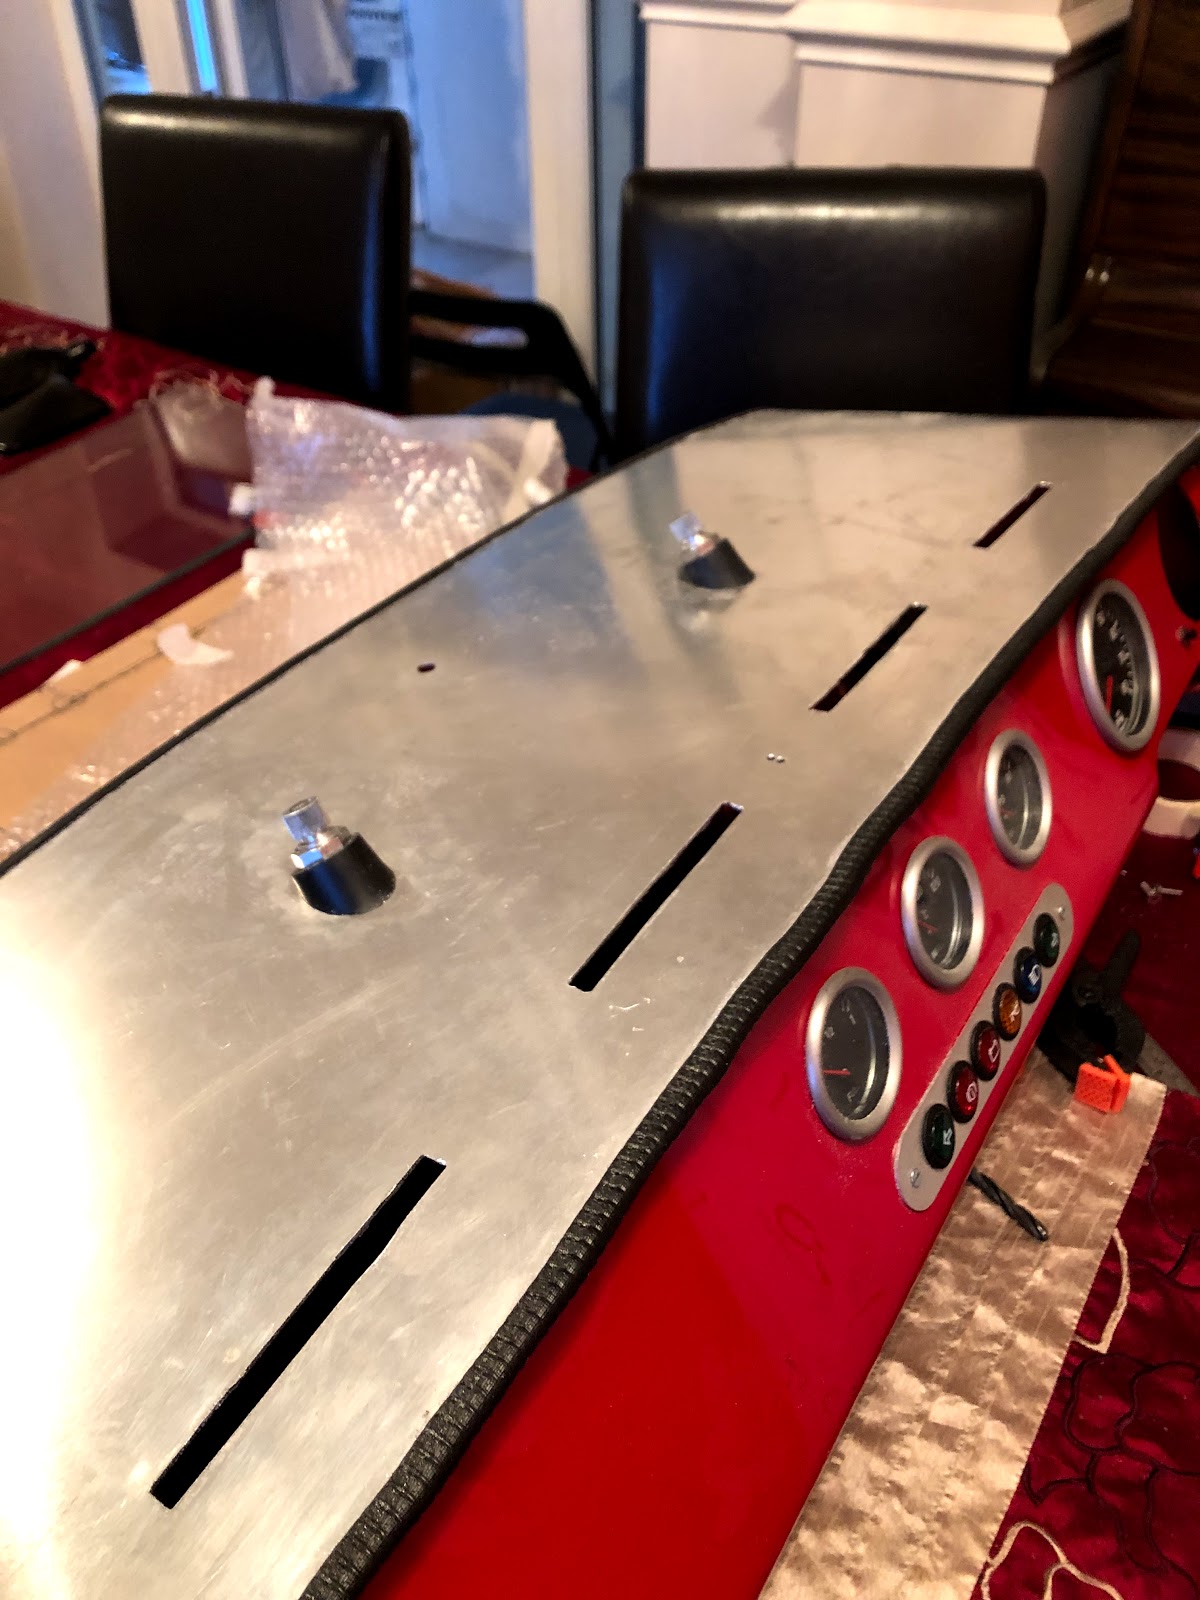
Post slightly out of order but a quick update on the vents, they were simple to do just required lots of measuring.  Unfortunately - I cocked up one of the measurements, god knows how I managed it because I checked so many times!  I simply didn't concentrate and ended up putting a drill hole right in the center of the scuttle.

After a littler thinking I decided to put a nice button head bolt in - absolutely no function at all but it hides the mistake well.  Some pics:


I can see the mistake above - I've filled in right the way along to the center line and then drilled the corners, at least I spotted it in time before dremeling out the blank!  That would have been harder to fix.

The slots cut out and the offending hole:


The plastic "plenum" is then glued in place on the rear and left overnight to go off.


Finished result on the car:


Controls wired in and tested, looking nice and neat:


Windscreen Final Fit

Gulp - this was it, onto the real thing and time to start fitting the glass.   Actually it was relatively easy, following on from previous blogs the glass goes in fine with a little washing up liquid and persuasion.  I don't have many pics but I hit a couple of snags, I damaged the paint work with the ratchet straps but more frustratingly I didn't account for the extra length required for the rubber.

After an hour of measuring, filing and fettling I managed to get some offcuts in place ready for filling:


I also decided to grind down the screwheads each side; even though I countersunk each it would look naff not being painted and I wouldn't get a flat finish without at least taking a bit off.  Why not go the whole hog and grind them completely?  Yes, I will need to take the frame off should the glass crack - but I will likely have to do that anyway so preferred to go with looks rather than "what ifs":


Some decent body filler, sanding, patience and a few more coats of paint later I managed to get it fitted.  Again, not many pictures but here is the finished result:


And my heater vents ready to go :)

Tuesday, 29 January 2019

Windscreen Part 3

The windscreen marathon continues... :).  After achieving a really good finish on the windscreen mount I decided I wanted to spray the frame as well.  The finish on the aluminium isn't great and I quite like the idea of having an all black surround.

Not too many pictures for the actual spraying but it is important to apply a decent, suitable undercoat.  I have previously read about etch priming aluminium so thought it prudent to research what base coat should be applied.  I chose the correct and recommended hammerite undercoat for aluminium, it went on fine:


Its fairly cold outside at the moment and the recommended minimum temperature is 5 deg, borderline achievable.  To aid the process I kept the frame warm in the house whilst warming the garage up using a heater.  Its a fine balance between warmth and obviously fumes; even with a mask I didn't want to spent too much time in the garage whilst spraying even with the doors open.

I knew it was going to take a long time for each coat to dry so I knocked up a couple of stands out of some offcut tile edging I had laying around.  Worked well and it meant I could transfer the piece into the dining room whilst drying:


I am surprised I managed to get away with the smell in the house whilst it was drying, luckily my wife was out at work otherwise I don't think she would have been so forgiving :)

Windscreen Part 2

Following on from the previous post it was time to start drilling the holes for the windscreen frame.  The factory had advised me to use self tappers cut down to 4mm, I decided a slightly different route.  It is important to keep the length of the fixing short enough so it doesn't touch the glass; yet long enough to have enough material to secure the screen.

I eventually wend with dome head M5 bolts, mainly because I am going to use dome heads to attach the mounts to the scuttle and also I like the look of them.   I also don't like self tappers as I find they can be difficult to remove later.

First step was to drill out the pilot holes - easy enough to do:


I simply measured the width of the frame and drilled down the center four holes evenly spaced.  Next I had to fix the windscreen and tap the holes:


When both sides were completed I started the paint prep work and began several coats of hamerrite spray paint - it gives a good, long lasting finish:

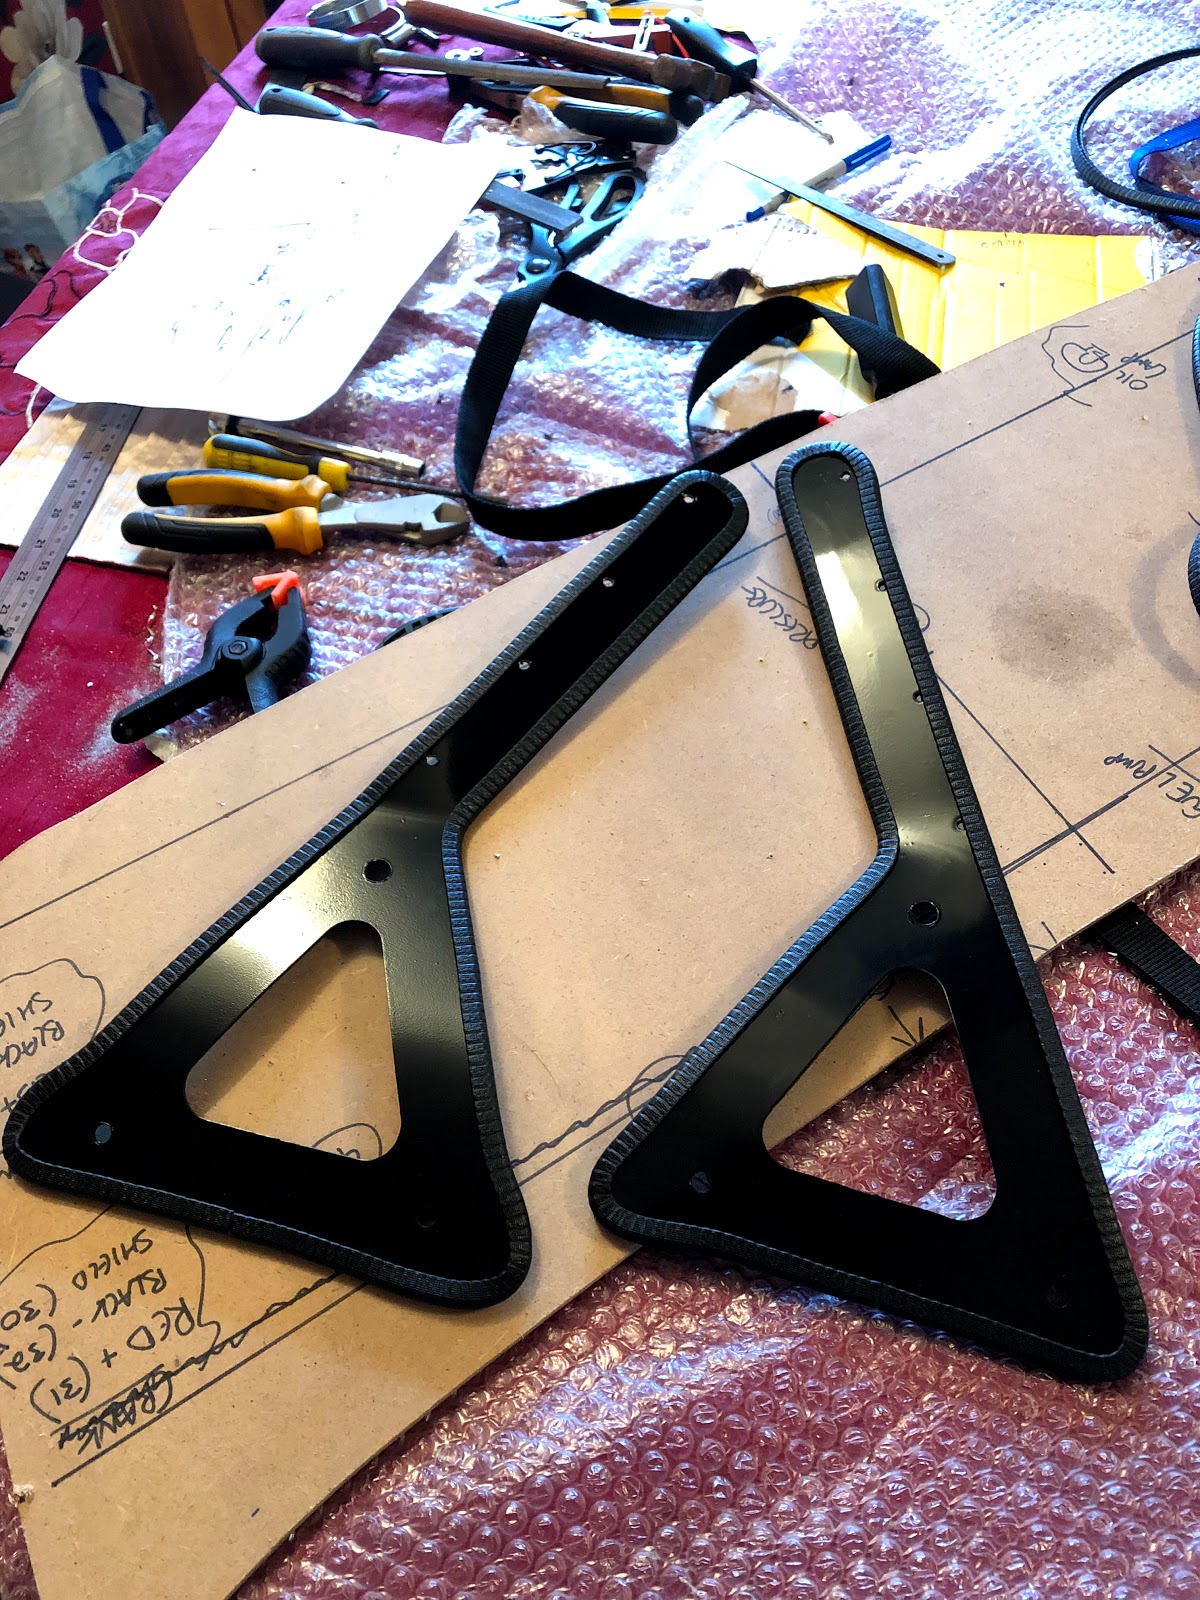
After several days drying in the heat I fitted the trim - this is a requirement for the IVA.  I actually like the look of it as well:


Really chuffed with the finish I managed to achieve.  Next update will be the windscreen frame and fitment.