Monday, 8 August 2016

Rear lights complete (shes alive!)

Lots of work done over the last few weeks but not too many blog posts, most of the stuff I have been doing hasn't really been worthy of a post but I've now completed the rear lights, amongst some other fiddly bits.

Now they are done they look perfect:


I've also wired up the battery - the kit I got from GBS was spot on and I know I have the correct lengths and gauges, nice and simple:


I've finished wiring up the front for testing, everything seems to work from the scuttle backwards - I need to earth the front before I can test that.  I need to decide where to attach the wiring at the front to the chassis, I was going to wait for engine but to be honest it only looks like it will go one way.  I went for 420mm height off the ground for the front indicators (again, via laser); the requirement is the same as rear, >=350mm <=1500mm; as I have no engine in, 420mm should be fine. Here is how she looks:


One final note - this isn't an IVA requirement but something a few guys on the owners club recommended and its belt and braces.  The uprights attach to the tubing that holds the front wings on via another piece of tubing.  Its nice and tight and I have torqued them correctly as well as adding an additional nyloc nut one side, but there is a chance it could still come lose after a while.   I have opted to insert a locking pin to make sure it doesn't move at all, looks neat and its good peace of mind:


Wednesday, 6 July 2016

Rear Lights - Day One

And the prize for most over thought and thorough job goes to?  Perhaps a little overkill, nevertheless hopefully these extra steps will mean the end product is that little more special.

My new toy is an auto leveling laser rule from Toolstation.  I tried yesterday to get the level right for the rear lights and I could tell after a few minutes that "a stick of wood roughly at the right height" wasnt going to cut it!  After reading a few other blogs, the forum I found some really good information re light positions.  The IVA states that they must be a minimum height of 350mm, maximum 1500mm and a minimum distance of 100mm between fog light and light cluster (http://nw.rhocar.org/SVA%20lights.htm).  Pretty specific!   The first thing I did was to check that the car is actually sitting straight on the garage floor, turns out it is.  It did take a while for the suspension to settle:


I had already measured the required heigh so I knew roughly where I wanted each light to go, next I created a template for the rear of the lamps and transferred to cardboard punching the holes out:


Next I made a top mark on each wing to mark the top of the template:


The laser is wide enough to span accross the total lengh of the rear, this ensures the height is 100% correct.  Even though you can lock the laser and spin it on the X axis, this was is more accurate.

I then measured 120mm on a piece of paper and lined it up with the edge of the fog light and marked the appropriate line on the wing (30mm from edge):


Finally I used both X and Y beams (I can hear Dr Evil every time I write that!) and used the template to mark the holes:


And ready for drilling - not before I double check all the measurements after talking the process through with someone else to sanity check my logic....


Sunday, 3 July 2016

Wheels and on the floor!

I wheely enjoyed this part (OK that's the one and only joke I'll put in this entry...but I couldn't resist).

I've been waiting over a month for my Team Dynamics wheels - I really liked the look of black with a red lip but unfortunately the manufacturer had to make them specially, which took what seemed like an age.  After all that waiting they look really good and I am glad I went for them - thank god my measurements were correct for PCD (108) and offset (ET15), my template worked as well and everything fits fine with 195/50/15 tyres (Goodyear Efficient Grip - seemed to have good reviews).


After checking the fit I went ahead and painted the inside of the rear arches and panel with some under seal - I may give them another coat of stone chip when I fit the lights, left overnight to dry.

Next it was time to finally tackle the stalks I have also been waiting for - they seem like hens teeth and they took around two months to come from GBS on back order, they arrived and come with the most important part, the wiring.  First job was to re-terminate the ignition wiring to match the loom:


Next fitting the cowling and the rest of the wiring - its all plug and play in reality so nothing technical from my side, the wiring diagram from GBS is also very easy to follow - glad I went with the plug and play loom.


You may spot that the rear is attached via cable tie - I think that's acceptable. The problem I have is the top and bottom cowling doesn't have the little tabs (remember - mine is custom made); the bottom is attached via grub screw to the column.  For the top I used two strips of aluminium and self tappers either side.  The result looks good - almost factory:


I have also opted for a remote horn switch, at least for the IVA pass.   I need to check the rules but I am 90% sure that the centre horn on the sierra wheel is passable, as long as the horn icon is covered for test with tape.   The reason I went down this route is the steering wheel doesn't come with the fly lead for the horn - the wheel didn't come with a horn, so I purchased one separately.  The problem is between 87 and 88 they changed the design and I have a new design horn, with no fly lead.   I either need to purchase another or use a remote horn switch.   As I plan to swap the sierra wheel post IVA it makes little sense to do anything else.

After some (very dodgy) work with a mate, two trolley jacks and lots of wood - finally it was on the floor.  A note on health and safety - don't do what we did, if I did this again I would rent an engine hoist.   Best made plans and all that, it seemed like a good idea to use trolly jacks but half way through the lowering process we were all too aware that what we were doing was dangerous and stupid.   Past the point of no return we continued without issue, but it could have gone horribly wrong.  Anyway, it didn't and here are the results:


I can now continue with all the lighting now we are on the ground I can measure the required height from the ground.    One final picture - Anna couldn't resist sitting in the car:


Sunday, 5 June 2016

Rear Arches

Both rear arches fitted over the last week, finished off today.  Unfortunately I didn't apply any of the lessons I had learnt on the dash board and once again cut my holes for the M6 bolts too snug, resulting in two threaded rivnuts when doing offside arch.  Nearside I changed the bit and used a larger size, giving me more room for manoeuvre and everything went smoothly.

Not many pics but end result:


There are a fair few other bits and pieces I have completed, main one being a massive garage tidy.  I've torqued up a few steering bolts but I'm now waiting on parts again before I can continue.  Main ones being the alloy wheels as well as the stalks.

Sunday, 29 May 2016

Cowling and Dash Cutout

I really enjoyed this part, it took me around 12 hours to do (!!) but I found it really rewarding.  I was unable to source a second hand cowling set and after posting on the forum a member there was making replicas from GRP - great.  It required a lot of finishing off, that was expected and although the copy I got was very good quality I wasn't 100% happy with the final finish so decided I was going the whole hog and really pleased with end result.

Here is what I started with:


It looks rough round the edges, but actually that makes sense - the bits that count are fine, its only the parts which need cutting out that look "rough", after purchasing some propper plastic bits for my dremmel it was like a knife through butter:


All clamped up ready for some serious sanding, measurng and checking:


And this is the point I decided I was going to sand and paint:


You can see the fit is fine but I wasn't happy with either the rubber strip between each section and the final colour, even though it's not really seen I couldnt help spending the time to get it right.  So, after lots (and lots) of sanding, filling and cleaning:


I managed to get a couple of coats on before finishing up:


I think you will agree the finished result in the morning was well worth the extra effort:


 Very happy.  This next week will be tidying up, I have started but it will take a few days (!!).  I've torqued the hub nuts up, need to setup the suspension was the wheels are on order.....

Dash Finishing (pre clocks)

First update in a while and I have been busy, that's with the car, work and other stuff going on at the moment!  Sticking with the car then, lots to write up about.

Ill start with the dash board - something that was far easier to tackle with a removable scuttle, but I have to say I found the dash a real pain after the 5 hour point - you will see why later.  OK so scuttle off and we are ready to go:


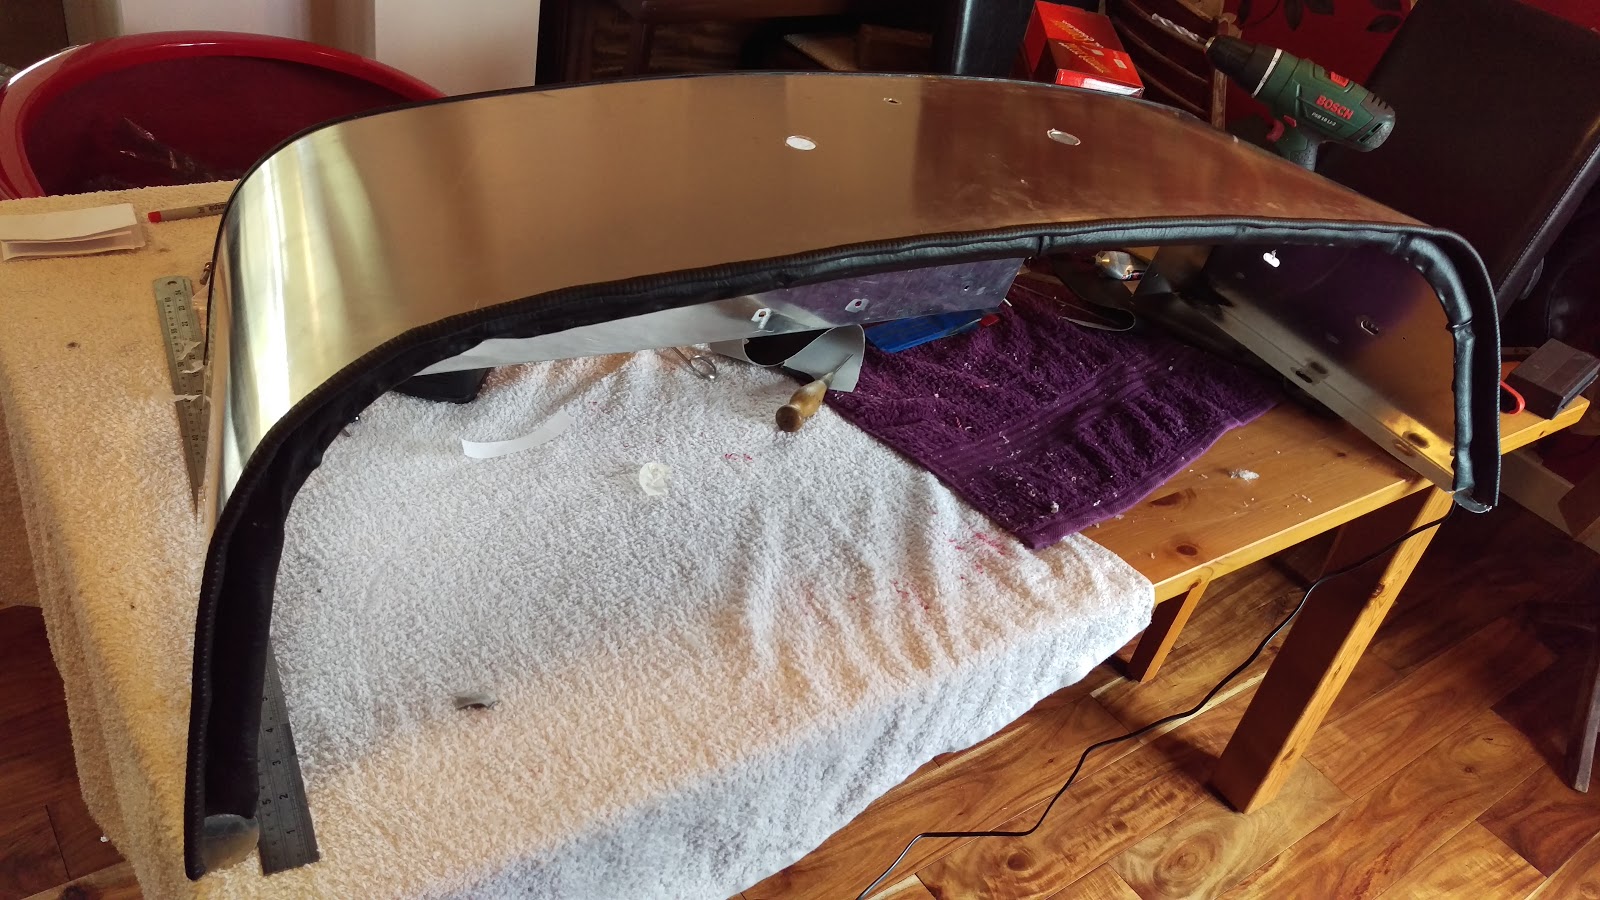
I wanted to cover up the (what would be) horrendous gap between the top edge of the GRP and the top of scuttle.  As the GRP is made in the factory yet the scuttle is formed by hand, its no wonder there is a small gap visible between the two.  As this is something I will be in the line of sight whilst driving I wanted to take my time and get it right.  Speaking to a friend they suggested some leatherette, which is exactly what I went with.  After purchasing a meter and buying a glue gun I set about fixing it, first some padding attached to stop any rattles:


 After lots of messing about here was the intermediate stage:


 The mistake I made here was rivnutting before I attached the material.  I thought that I could simply open up the leatherette, poke the bolts through and away we go.  That's fine in theory but in practise nearly every single one threaded.  I think a mix of my obsessive measuring and parts of the material getting into the thread caused the problem.  I don't think I could get the correct angle on the thread, because of very little wiggle room.   I ended up having to drill each rivet out and went with lock nuts on the rear - it seems good enough to me and I can remove the dash still.  I used some dome washers and countersunk bolts, looks good:


 Next was onto the cut out for the Cowling, the steering column is on but only hand tight - I will torque it up properly later when I am 100% sure on how everything works.  A little piece of my OCD set in here, but it paid off.  First I made a template with clear instructions for if\when the frustration sets in:


 The edge of the template lines up with the dashboard meaning I can remove it and line it up perfectly once the final template is made:


 I made a master and WIP copy, the master stays as is should I make any mistakes on the WIP copy I can create another one:


 All that was left now was to get the Cowling sorted...

Sunday, 15 May 2016

Nose Cone and Bonnet Day Two

I say day two...this has taken me around a week to do, well worth it.  For the bonnet I definitely took my time, my focus was on achieving a factory finish (as much as possible) and I am really pleased with the results.  The only thing I need to do is get some thinner foam strip to run along the edge of the bonnet where it sits on the scuttle and nose cone.  The stuff I have is 6mm thick and it needs to be at least half that, otherwise the bonnet doesn't sit right.

You can see from the pics that its 99% there but there are a couple of areas around the nose that I want to pull a little tighter and hopefully a thin strip of foam will do just that.


Ratchet straps used to get the bonnet into position, a god send:


Used my rule to make sure I didn't have a lip anywhere, looking good:


Next was working out where to put the bonnet locator pins.  I know on the left hand side the manifold comes out, once the engine is in I can put another locator pin in but for now I have gone with four.  Easiest way to do this was to mark up where I want the pin on the bonnet and chassis when bonnet is in place, then drill a small pilot hole central.  Then, fit the bonnet again and mark through the pilot hole and open each side up - finally finishing with a file and testing with spare locator pin for flush fit.


The nose cone was only held in place with clips whilst I made sure the bonnet fit was correct with the scuttle, then tapped the nose into place at the other end and securely fixed nose after applying IVA trim:


I decided to screw on the headlights so I could put the spade ends and terminals on ready to run the wring loom, but after looking in detail I really need to do the front wiring loom after I have a few more bits in e.g E-N-G-I-N-E (I am looking forward to that part!).

Here she is: