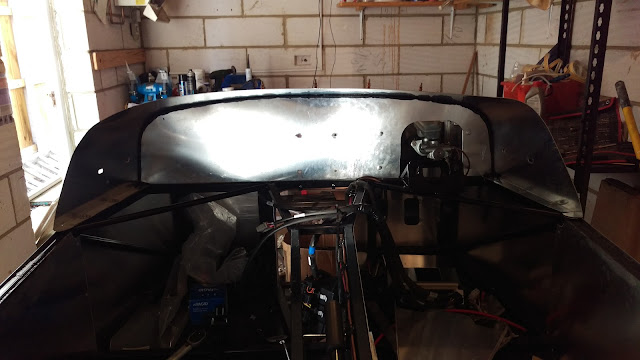
Lots done today, I am glad I decided to make the scuttle removable as already I have removed it twice!
Nothing too difficult so far, lots of measuring and checking things fit nicely. I also opted for some draft excluder, purchased some decent "P" style from ScrewFix and its a lot better quality than the BNQ stuff. So, M6 rivnuts drilled and inserted in the chassis (ouch! my hands now hurt):
Trial fit, all looks good. Took the firewall off and back indoors to start forming the curve, same process as the rear panel:
Back on the car and time to get the ratchet strap out, without it this would be difficult with only one person:
It took lots of minor adjustments to get everything square and lined up perfectly, I figure anything off at this point will be really noticeable. Finally all bonded with sikalfix and clecos to pull it together:
You can see on this photo the drivers side sags down a little, this will be fine once the inner dash panel goes in - it will all get pulled into shape. After leaving it to go off overnight I started work on the rivets on the front edge of the scuttle, for this I am going to have to go really close to the edge:
My first attempt was somewhat of a fail. I suspect I may have the wrong type of trim - although even if that is correct, I still don't see how they will add much to the structure. I have decided I will glue and revisit once I trial fit the bonnet - that way I know what sort of clearance I have. From what I read, its 1-2cm.
I don't have that luxury on the side facing the rear and that needs to be 100% spot on because I will stare at it whilst driving.
Will leave the front edge like this and then trim + file the tabs down for the front.


I have used the wrong trim. That's why it's so close to the edge, oh well I'll rest my hands till the weekend and give it another bash!
ReplyDelete